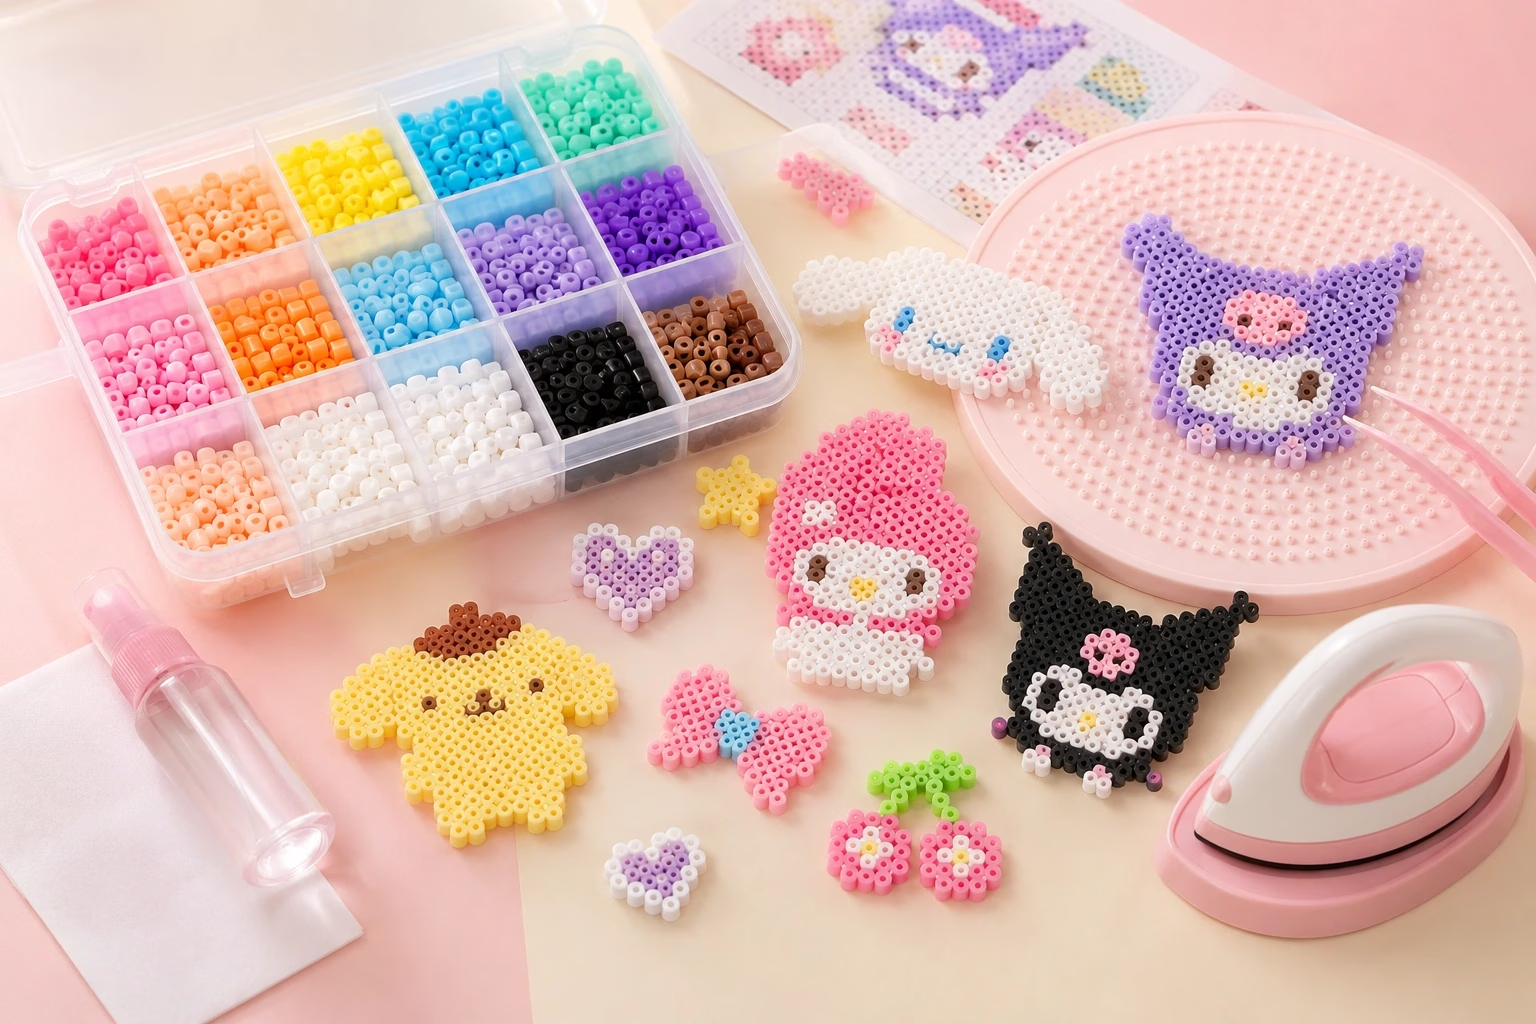
A good fuse beads kit should include enough beads for several projects, at least one pegboard, ironing paper, and simple instructions to get started. Knowing what to expect inside a kit makes it much easier to judge whether a set is actually worth buying or missing key pieces you will need to buy separately.
Fuse bead kits vary a lot between brands, and the difference often only becomes obvious after opening the box. Some include everything needed for a first project, while others leave out small but essential pieces like ironing paper or a pegboard entirely. Knowing what to check for saves a trip back to the store halfway through a project.
Here is what a solid kit includes and how to actually use everything inside it.
What’s in a Fuse Beads Kit Worth Buying
A well-put-together kit usually includes a consistent set of core items.
- A generous supply of beads across a reasonable color range
- At least one pegboard, ideally a few different shapes
- Ironing paper or parchment sheets for the fusing step
- Basic instructions or a few starter pattern templates
- A pair of tweezers for precise bead placement

Checking this list against the box before buying helps avoid ending up with a set that needs several extra purchases just to get started. Knowing what’s in a fuse beads kit ahead of time also makes it much easier to compare two similar-looking boxes. For a broader sense of what falls under this category, Kawaii stationery items cover more ground, too.
Fuse Beads Kit for Beginners: What to Look For
Beginner-focused kits tend to prioritize simplicity over variety.
- Larger standard size beads that are easier to handle
- A smaller color range to avoid overwhelming a first project
- Simple shaped pegboards, like hearts or stars, for quick early wins
- Clear, illustrated instructions rather than just a color chart
A fuse beads kit for beginners that includes a few pre-planned patterns tends to build confidence faster than one that expects freehand designs right away. For anyone who enjoys switching between different DIY formats during a craft session, Sanrio Bricks Building Blocks make a fun addition alongside a fuse beads kit.
How to Use Fuse Beads Step by Step
Once the kit is unpacked, the actual process follows a fairly consistent sequence.
- Choose a pattern or design and place beads onto the pegboard following the layout
- Work from one section outward rather than jumping between different areas
- Once the design is complete, place ironing paper over the top
- Iron using a medium heat setting, moving in small circular motions
- Let the design cool fully before lifting it off the board
Learning how to use fuse beads well mostly comes down to patience during placement and a steady hand during the ironing step.
Choosing a Fuse Beads Starter Kit
A fuse beads starter kit can differ quite a bit in what it prioritizes, so matching the kit to the person using it matters.
- Kits aimed at younger kids usually include larger beads and simpler boards
- Kits aimed at older beginners or adults often include finer detail beads and bigger boards
- Some starter kits include a small carrying case, useful for keeping everything together between sessions
- Bundled kits with multiple boards are better value if more than one person will be using it
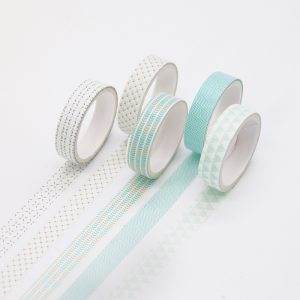
Framing or displaying a finished design also works well with a few extra materials, and our post on washi tape ideas has some useful ways to decorate around a completed piece.
Fuse Beads Kit Accessories Worth Having
Beyond the core kit, a few extra accessories make the whole process smoother.
- Sorting trays or small containers to organize beads by color
- Extra pegboards in different shapes for keychains and small gift projects
- A dedicated craft iron, which heats more evenly than a regular clothing iron
- Refill packs in commonly used colors, since certain shades tend to run out fastest
Fuse beads kit accessories like these are optional at first but become genuinely useful once projects start getting more frequent or detailed.
Getting the Most Out of Ironing
The ironing step is where most beginner mistakes tend to happen, regardless of how good the kit is.
- Always use parchment or the included ironing paper; never iron beads directly
- Keep the iron moving steadily instead of resting it in one spot
- Check progress by lifting a corner of the paper partway through
- Iron both sides of the design for a smoother, more even finish
Common Mistakes When Using a New Kit
A few recurring issues show up across most first-time kit users.
- Skipping the instructions and guessing at bead placement
- Using too much heat, which can warp or overly flatten the beads
- Forgetting to let the design cool before removing it from the board
- Losing small pieces like tweezers or spare pegs early on
Storage After Opening a Fuse Beads Kit
Keeping a kit organized after the first use makes future projects far less frustrating.
- Store loose beads in labeled containers, sorted by color
- Keep pegboards flat and stacked rather than leaning against something
- Store ironing paper somewhere it will not get crumpled or torn
- Keep small tools like tweezers in a dedicated pouch so they do not get lost

Keeping beads, tools, and finished pieces sorted is much easier with a Desk Organiser nearby during longer sessions.
Fuse Beads Kit vs Buying Beads Separately
For anyone deciding between a full kit and buying components individually, a few factors are worth weighing.
- Kits are usually better value for a first purchase, since everything is bundled together
- Buying beads separately makes more sense once specific colors start running low
- A starter kit is a low-risk way to test interest before investing in bulk supplies
- Separate purchases give more control over color range and bead size later on
For a wider range of DIY building and craft options to pair with a fuse beads kit, the kawaii building blocks collection has plenty to look through.
Quick Checklist Before Buying a Fuse Beads Kit
- Confirm the kit includes a pegboard and ironing paper, not just beads
- Check whether the bead size matches boards you may already own
- Look for a color range wide enough for a few different projects
- Decide whether a beginner-focused kit or a more advanced set fits better
A fuse beads kit is worth the investment mainly because it removes the guesswork of gathering separate pieces before a first project. Once the basics of placement and ironing feel comfortable, expanding into extra pegboards, refill packs, or more detailed designs becomes an easy next step.
For everything else across the website, the cute stationery is worth checking out as well.
Frequently Asked Questions
What should be included in a good fuse beads kit?
A solid kit should include a good supply of beads, at least one pegboard, ironing paper, and basic instructions or starter patterns.
How do I use fuse beads for the first time?
Place beads on a pegboard following a chosen pattern, cover the design with ironing paper, then iron using medium heat in small circular motions before letting it cool fully.
Is a fuse beads starter kit worth buying for a beginner?
Yes, a starter kit is a low-risk way to try the craft, since it bundles beads, boards, and tools together instead of requiring separate purchases upfront.
What accessories make using a fuse beads kit easier?
Simple pixel-style icons, symmetrical shapes, and small keychain-sized designs are good starting points that keep early projects manageable.
Should I buy a fuse beads kit or beads separately?
A kit makes more sense for a first purchase, while buying beads separately becomes useful later for restocking specific colors. A Mini DIY Building Block Flower Pot Set is worth considering too if you enjoy pairing different craft formats in one sitting.
Shop the kawaii collection
-
Sale!
-
Sale!
 Select options This product has multiple variants. The options may be chosen on the product page
-
Sold Out
 Select options This product has multiple variants. The options may be chosen on the product page
-
Sold Out
 Select options This product has multiple variants. The options may be chosen on the product page
Explore More Blogs