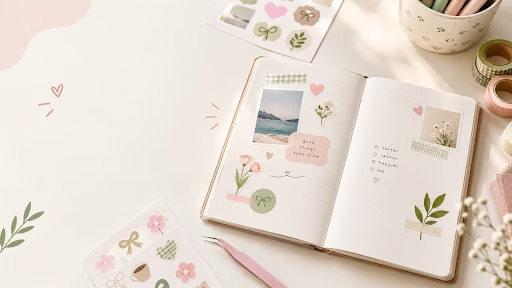
The secret to how to use stickers in journal pages is restraint: pick one main sticker as the focal point, add two or three smaller ones that match its colours, and leave at least a third of the page empty. Stickers look cluttered when every sticker competes for attention, and calm when each one has a job.
Learning how to use stickers in journal pages well comes down to three things: where they sit, how big they are, and whether they share a colour story. Get those right and even a sticker-heavy page looks intentional.
5 Rules for Clutter-Free Sticker Journaling
These five rules cover most of what makes sticker journaling look polished.
1. Pick One Hero Sticker
Every page needs a star. Choose your biggest or most detailed sticker and let everything else support it. Place it slightly off-centre, roughly one third in from an edge, which feels more natural than dead centre.
2. Stick to a Colour Story
Choose two or three colours per spread and keep every sticker within that palette. Soft pink with sage green, or cream with brown and dusty blue, instantly makes different sticker packs look like a set.
Cute stationery in a soft, matching palette ties stickers, pens, and tape together, so every page looks like part of the same journal.
3. Group in Odd Numbers
Clusters of three or five look relaxed and balanced. Pairs and fours tend to look stiff, like a row of soldiers.
4. Vary the Sizes
Mix one large, two medium, and a few tiny stickers. When everything is the same size, the eye has nowhere to rest.
5. Leave Breathing Room
Keep 30 to 40 percent of the page clear for writing or simple white space. Empty space is what makes the stickers you do use stand out, and it’s the most underrated part of how to use stickers in journal layouts.
Journal Sticker Placement: Where Stickers Look Best
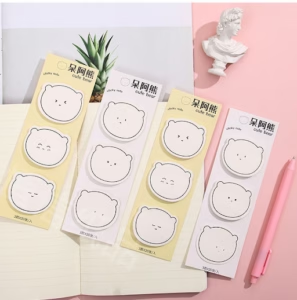
Good journal sticker placement follows the natural flow of a page. Here’s a quick map:
| Spot on the Page | What Works There | Why It Works |
| Top corner | Hero sticker or a date label | Draws the eye in first |
| Beside a heading | Small icon or tiny character | Frames the title neatly |
| Bottom corner | Cluster of three small stickers | Balances the top of the page |
| Along one edge | A strip of washi or a sticker border | Creates structure |
| Next to a paragraph | One small sticker that matches the topic | Adds meaning to the writing |
| Over a photo corner | Tiny flower, star, or heart | Holds the photo and decorates at once |
A simple way to remember journal sticker placement: think corners and edges first, centre last. The centre belongs to your words.
How to Use Stickers in Journal Spreads Step by Step
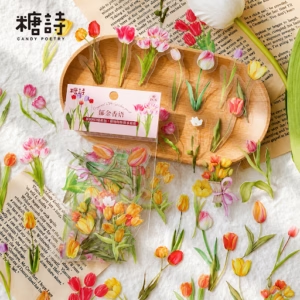
Here’s how to use stickers in journal layouts from blank page to finished spread.
- Plan before peeling. Lay stickers on the page while still on the backing sheet, or sketch rough boxes in pencil.
- Write first, decorate second. Your text takes the most space, so place it before any stickers.
- Place the hero sticker. Put it near a corner or beside your main heading.
- Add supporting stickers. Two or three smaller ones in the same colour story, in a loose triangle around the hero.
- Fill tiny gaps. Use mini stars, dots, or hearts sparingly to connect elements.
- Step back. Look at the page from arm’s length. If your eye jumps around, remove one sticker.
Many journalers keep a few go-to themes, like florals or bears, so their sticker spreads feel connected from week to week. A floral sticker pack in a vintage palette is especially easy to match across pages.
8 Sticker Journal Ideas That Stay Tidy
Try these sticker journal ideas when you want a page that looks full but feels calm.
- Hero and three: one large sticker plus three tiny ones in a triangle
- Corner bouquet: a cluster of floral stickers tucked into one corner only
- Sticker frame: small stickers around a photo or quote, with the centre left clear
- Single theme day: one character, like a bunny, appearing in three poses across the spread
- Label strip: a column of label stickers used as headings for a to-do list
- Mood row: five small face stickers along the bottom as a weekly mood tracker
- Story path: stickers placed along a curved pencil line, like a little journey across the page
- Monochrome page: stickers in one colour family only, from pale to deep
Character stickers work beautifully for themed days. These Cute bunny stickers suit the “single theme day” idea, since one sheet gives you several matching poses.
For even more sticker journal ideas, pairing stickers with doodles and borders works wonderfully. These aesthetic diary decoration ideas show how to mix both on one page.
Quick Fixes When a Page Feels Busy
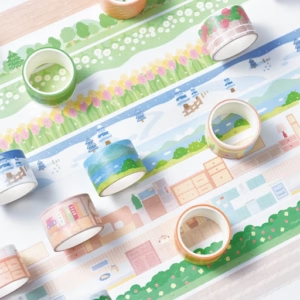
Already stuck too many down? Part of knowing how to use stickers in journal pages is knowing how to rescue one. These easy fixes calm a page quickly:
- Cover with washi: a wide strip of plain washi tape can hide a clashing sticker and add structure
- Add a text box: draw a simple rectangle and write inside it to create a clear resting spot
- Link with a line: a thin pen line connecting scattered stickers makes them look planned
- Peel early: most stickers lift cleanly within the first minute, so adjust right away
- Stick a label over it: a plain kraft or white label sticker turns a messy spot into a heading
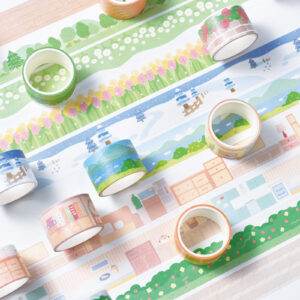
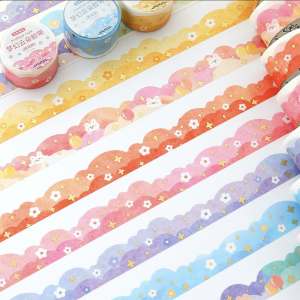
Washi tape is a sticker’s best friend for tidying layouts. These washi tape journal ideas show quick ways to frame and organise busy pages.
Organising Your Sticker Stash
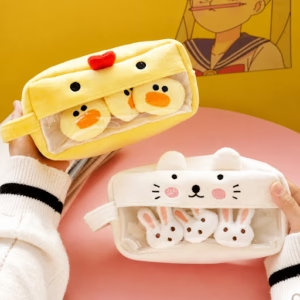
A tidy stash makes tidy pages. When you can see your stickers by theme and colour, it’s much easier to pick a matching set.
- Sort sheets by colour rather than by pack
- Keep tiny leftover stickers in a small zip pouch for gap-filling
- Store sheets flat so edges stay crisp
A cute sticker box keeps loose stickers in one place, so you can grab a matching set in seconds.
Browsing cute stickers by theme helps you build a stash that already shares a colour story, which makes planning sticker spreads quicker.
Quick Tips
- Use tweezers for tiny stickers: they help you place small pieces exactly where you want them.
- Cut sticker sheets in half: half-sheets are easier to plan with and keep leftovers organised.
- Test transparency: clear stickers look best on light pages, while opaque ones suit dark or kraft paper.
- Save your best layouts: photograph sticker spreads you love and reuse the same arrangement with new stickers.
- Keep a “favourite few” set: a small pouch of five go-to stickers makes daily journaling quick.
- Stick on a hard surface: pressing on a book or desk keeps stickers flat and bubble-free.
- Practise on scrap paper: trying layouts on a spare sheet is the quickest way to learn how to use stickers in journal pages confidently.
Frequently Asked Questions
How many stickers should I use on one journal page?
Three to seven stickers usually look balanced on a single page. Start with one large sticker, add a few small ones, and stop once the page has a clear focal point.
How do I stop my journal from looking cluttered?
Limit your colours to two or three, group stickers in odd numbers, and leave at least a third of the page empty. Knowing how to use stickers in journal layouts is mostly about placing fewer, more purposeful pieces.
What kind of stickers are best for journaling?
Matte and washi stickers are easy to write over and reposition, while transparent stickers blend nicely with patterned paper. Soft Pastel Stickers are a great choice for calm, cohesive pages.
Can I remove a sticker without tearing the page?
Yes, peel slowly at a low angle, ideally within a minute of placing it. For older stickers, a few seconds of warm air from a hair dryer softens the adhesive.
How can I start sticker journaling on a budget?
Begin with two or three sticker sheets in one colour story and use them across several spreads. Plenty of options are available as stationery under 49, so you can grow your collection slowly.
Shop the kawaii collection
-
Sale!
-
Sale!
 Select options This product has multiple variants. The options may be chosen on the product page
-
Sold Out
 Select options This product has multiple variants. The options may be chosen on the product page
-
Sold Out
 Select options This product has multiple variants. The options may be chosen on the product page
Explore More Blogs